
In this post, I wanna share 5 steps to get a clean sound on the violin.
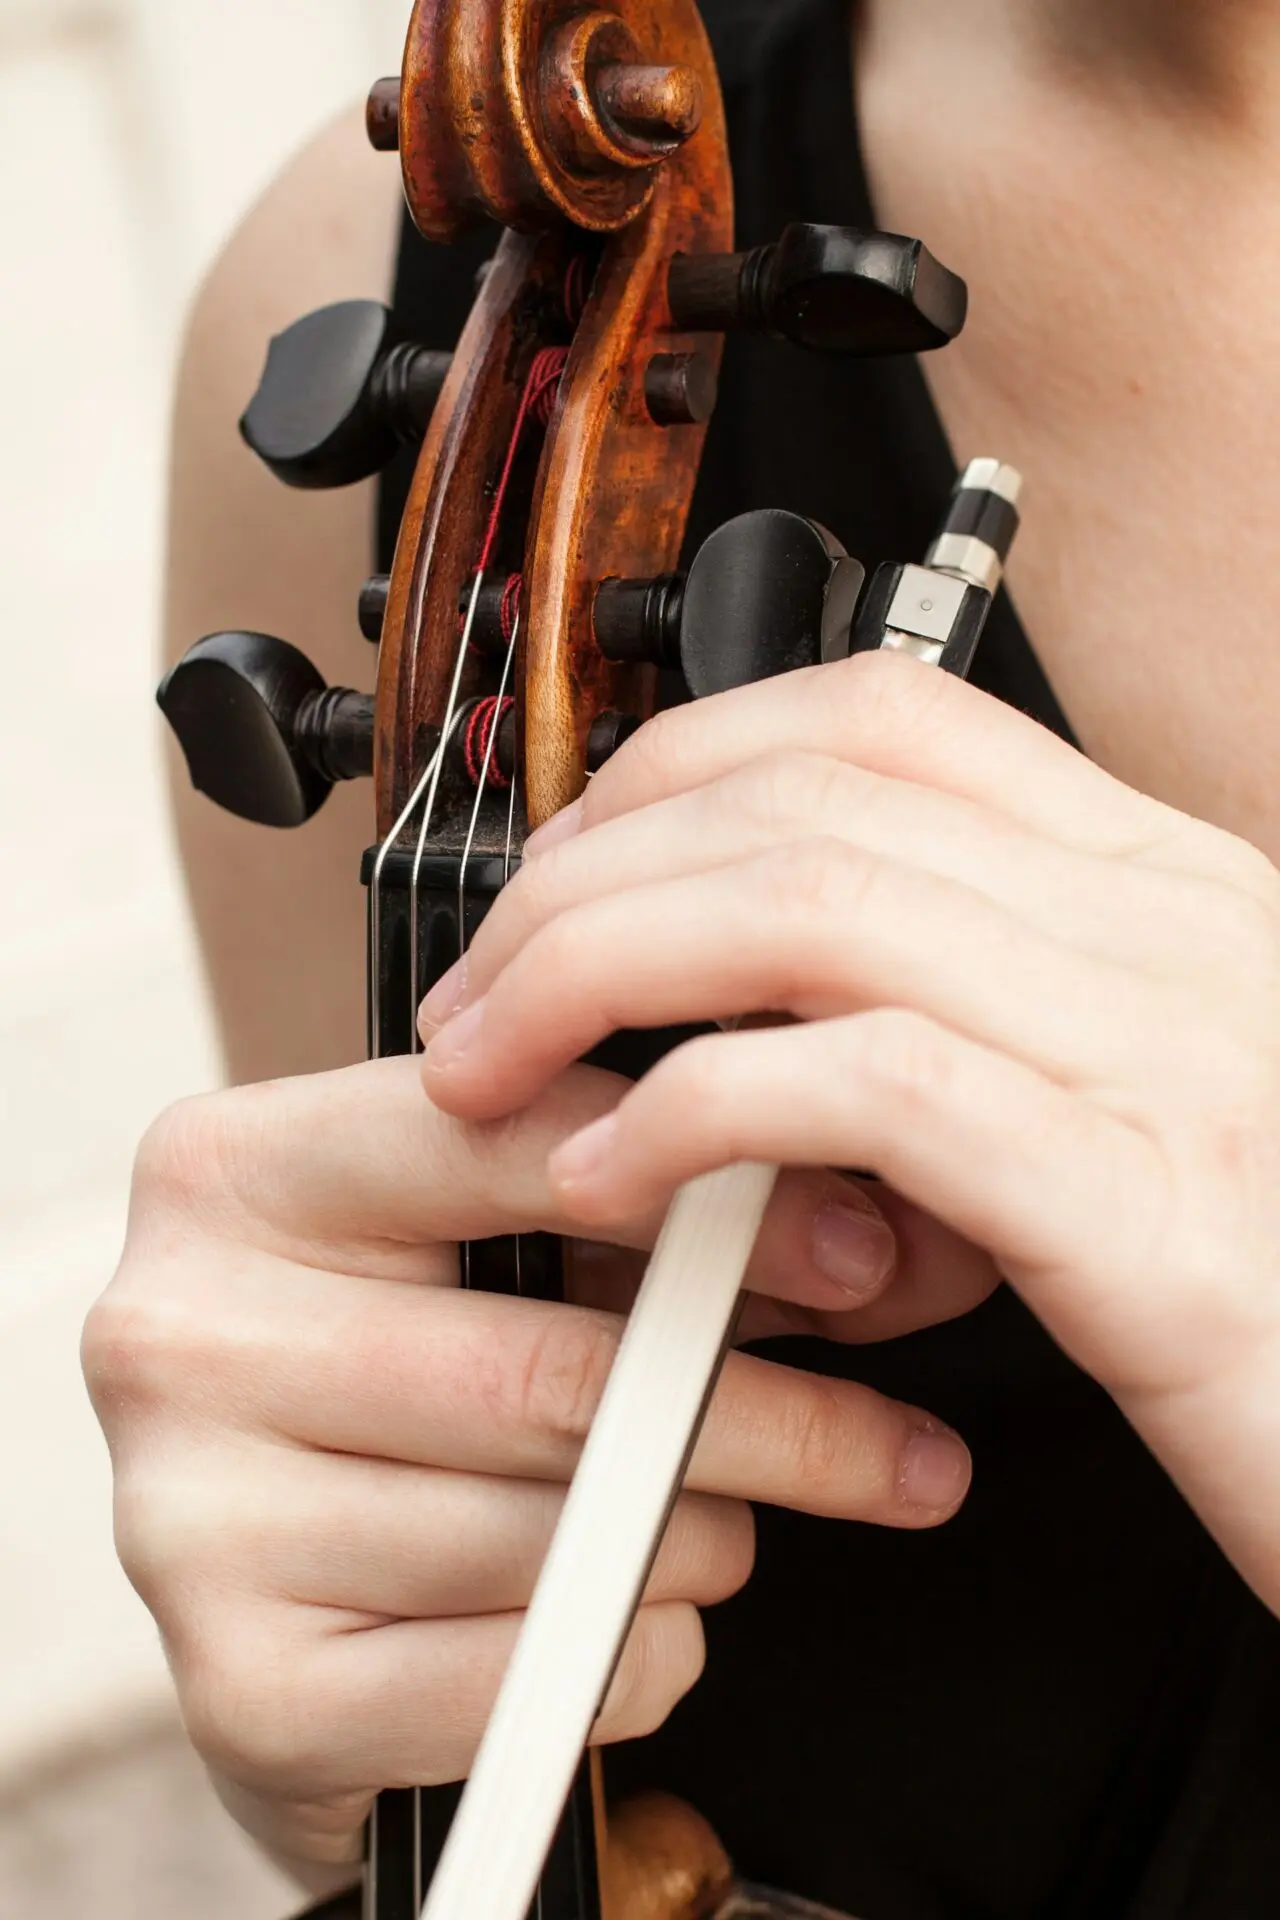
When playing the violin, we are dealing with many things at the same time physically and mentally.
The coordination between both hands places an enormous factor in our ability to play with a cleaner sound.
1 – Left Hand finger pressure and finger action
There’s a space in between the string and the fingerboard that can affect your tone quality, if you do not press the string correctly, it does not produce a pure tone. The “correct” amount of pressure from your left hand fingers is enough to stop completely, allowing a full vibration.
What happens frequently is that the speed at which we drop or lift our fingers gets in the way of that pure note change, creating sometimes a noise or a dirty sound “in between” the notes that we are playing.
So make sure you are dropping your fingers at an adequate speed that the string is being stopped without any distortion on the sound, and lift your fingers fast and coordinated with your bow so the articulation gets clearer.

2 – Stop overcorrecting your tuning

Playing in tune on the violin is a challenging task, that’s not news! But if we keep overcorrecting our tuning to find the right now, we are making it harder and it doesn’t sound good at all.
We need to teach our fingers to fall at the right spot right away, I know that this can be tricky, but it’s possible!
The first strategy to use would be to “not correct at all”. Stop the willingness of correction. Listen to the sound and pitch you are making, after this stage, play again the same passage trying to place your fingers on the “correct” position. Go back a few notes and play again the same passage over and over, repeat the correct note a few times until your fingers learn the new way of playing.
3 – Soundpoint
Between the bridge and the beginning of the fingerboard there is a space, some people call it the “soundpoint area”. A good way of dividing that is in 5 sections, found in Simon Fischer’s method, Basics.
You can find his book here
Start with playing at the soundpoint number 3, that’s a place in the middle between the bridge and the fingerboard, very stable and easier to produce an even tone. Later you can explore other soundpoints, but for the experiment of cleaner sound, try playing something at this sound point only.

4 – Bow Speed
Keep your bow speed as even as possible, changing bow speed changes how the bow produces the sound. in combination with pressure. When playing with a faster bow, the weight on the string gets lighter, and when playing with a heavier bow, it makes it heavier. Changes on the speed of the bow also affect how loud or soft the instrument will sound.
So, to get a cleaner sound on the violin, keep the speed of your bow even.
5 – Bow Pressure
Depending on which soundpoint you are playing, it requires a different pressure/speed of the bow. Closer to the bridge you can play heavier, and closer to the fingerboard you need to play lighter.
Another difficulty is to keep an even pressure considering different parts of the bow you are using, for example, closer to the frog of closer to the tip.
We are adjusting our pressure control all the time while playing, so pay attention to the quality of the tone you are getting to adjust correctly.
Conclusion
It’s not a simple task, would require an investigation to know exactly what is causing you to not get a clean sound, try narrowing one thing at a time.
Follow the 5 steps to get a clean sound on the violin above and I’m sure you will get it!
Here I’m showing a little bit of these elements
Let me know at the comments how it goes for you!
Book a lesson now and I’m happy to help you!
contact here!
All the best!


