Are you looking to improve your left-hand position on the violin? Here I show one of the strategies that I use with my students.
Does violin left-hand position affect tuning or expression?
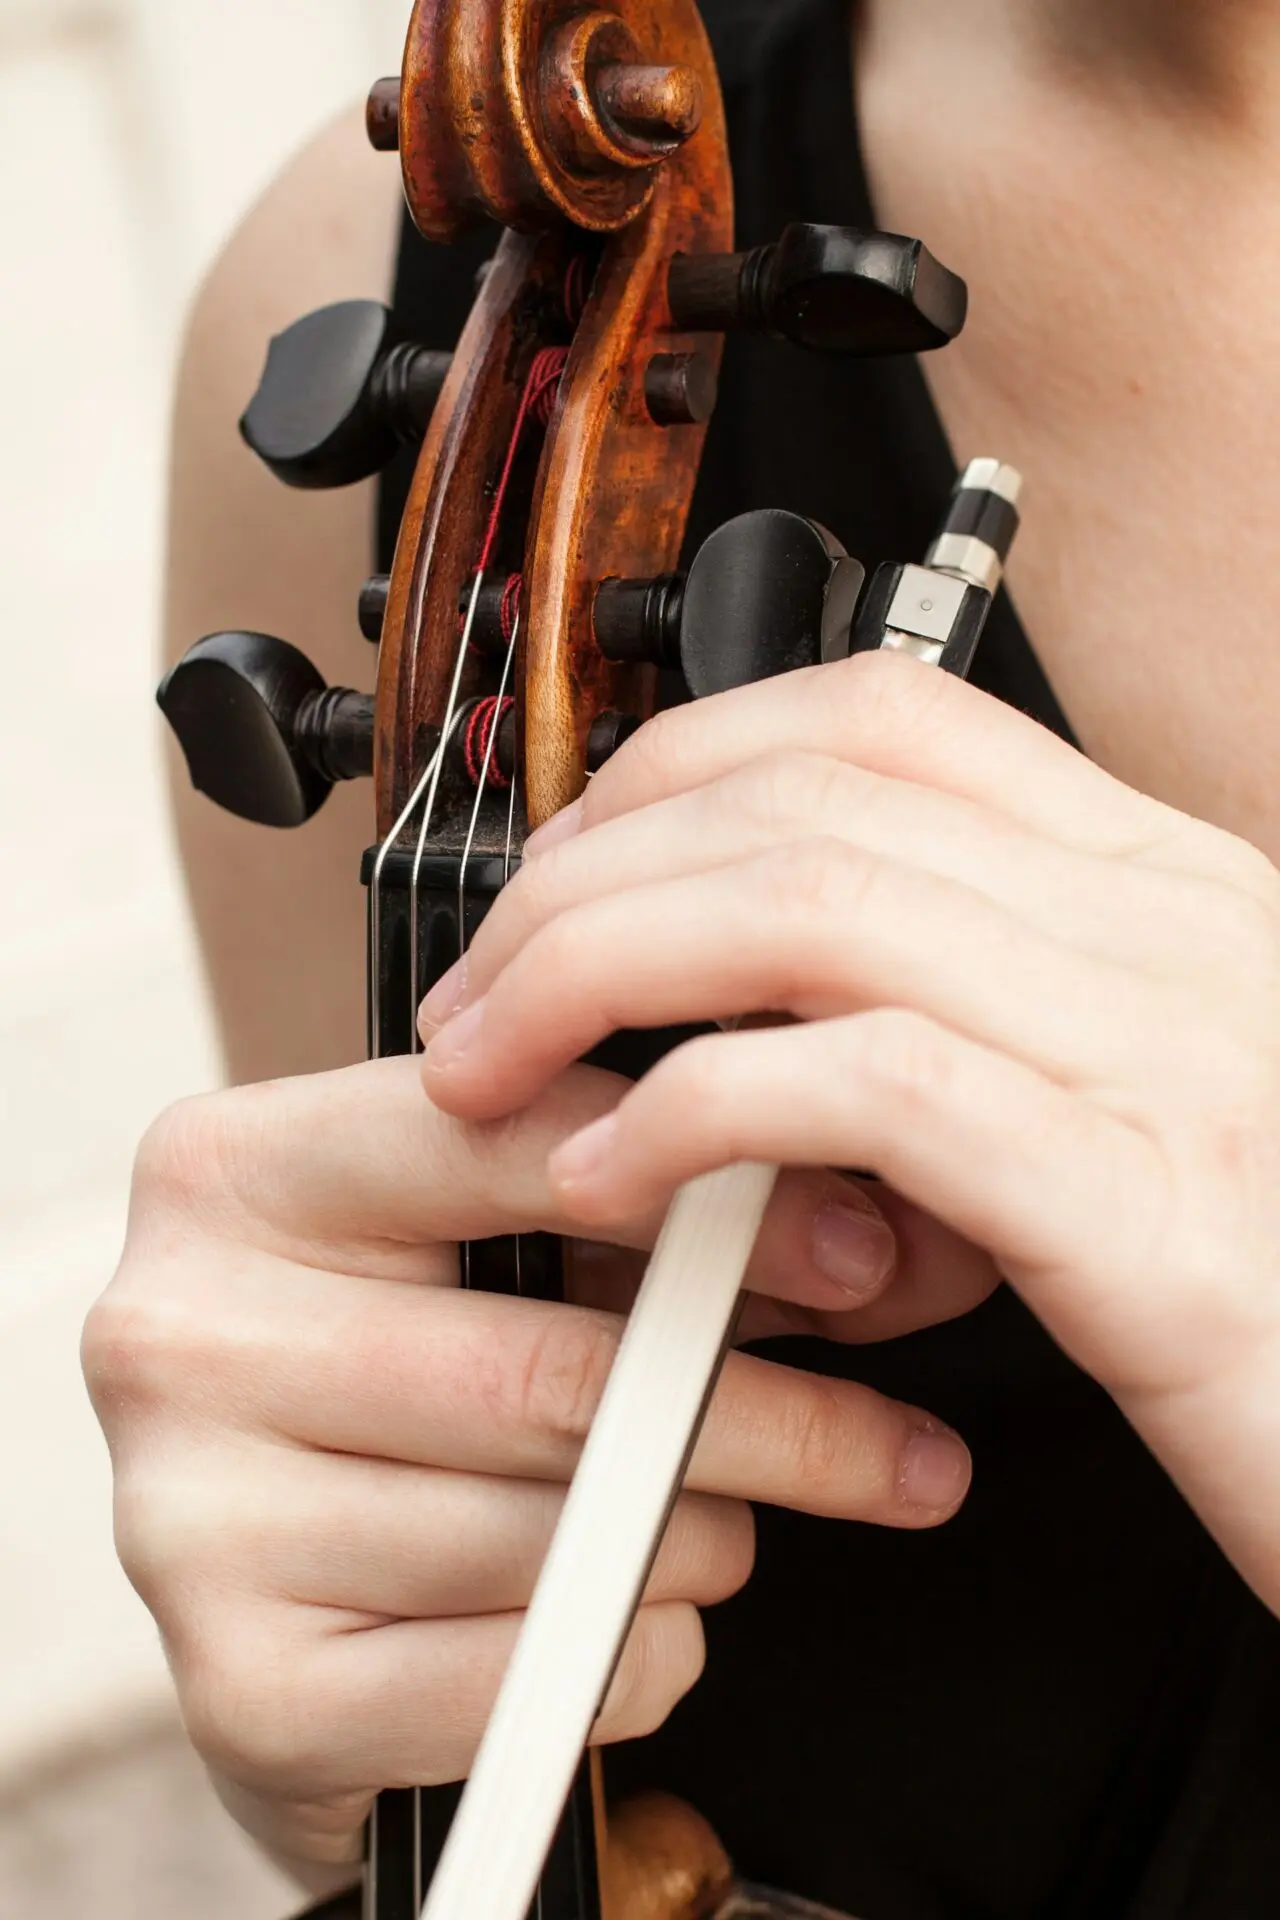
Your violin left-hand position is responsible for changing notes and part of the interpretation (vibrato). As the violin doesn’t have any frets, making the correct tuning for each note becomes a challenge.
P.S. Some violin players also use their left hand to help support their violins, as this is a very personal opinion and practice I will leave it for later discussions.
A good left-hand posture will contribute to good tuning, agility playing, relaxed playing, and the correct vibrato development.
From the start
To establish a good posture as soon as possible we need to be aware of:
- What is our goal?
- What are the most common difficulties when building that skill?
- Possible solutions and workouts.
Posture and endurance
Apparently, the first difficulty would be playing in tune, but actually is holding up the arm in such a position. The first complaint from students is that their arms get tired after keeping the left hand up for a long time. So building its endurance is essential.
The second common issue is how to press down the strings without making your hand too hard, we want our hands still flexible and accurate as best as possible.
Left-hand thumb counter pressure is another important detail to observe. The build of independence of fingers will be necessary, usually, our thumb likes to hold and help the other fingers on the fingerboard, but that can affect the general mobility of the left hand.
Practice activities to improve your violin left-hand position
Here I’m sharing just one of the possible workouts to help you to improve that left-hand position.
What I ask the student to do is to make their finger knuckles like “tables” so we can hold that prop for a few seconds (maybe 10 seconds, maybe 20 seconds).
Some suggestions and advice for this practice:
- Make it “easier first”. We want to make sure that we can do it in the first try.
- Increase the difficulty little by little (add 10 seconds at a time).
- Check thumb counter pressure.
- Have fun!
I’m sure that you can find this kind of eraser close to your home. I bought mine at the Party City store, as they sell a bag with 500 of them! It turns into great small gifts for my students.
Let me know how it goes for you!
Make sure to check the resources page for more useful content.
All the best!
Andre